Setting up a Wallet
This article explains how to configure wallet settings, add webhooks, and set up policies after creating a wallet.
After creating a wallet, you can configure its settings.
To get there: After creating a wallet, you may configure the settings for that wallet by navigating to the Settings tab. To get there from the Wallets tab:
Go to the Wallets tab and select the wallet you want to configure.
Click the Ellipsis Menu (⋯) in the top-right corner.
Select Settings
Select and click on the the Wallet you want to view
Click on the Ellipsis Menu on the top right hand corner
Go to Settings
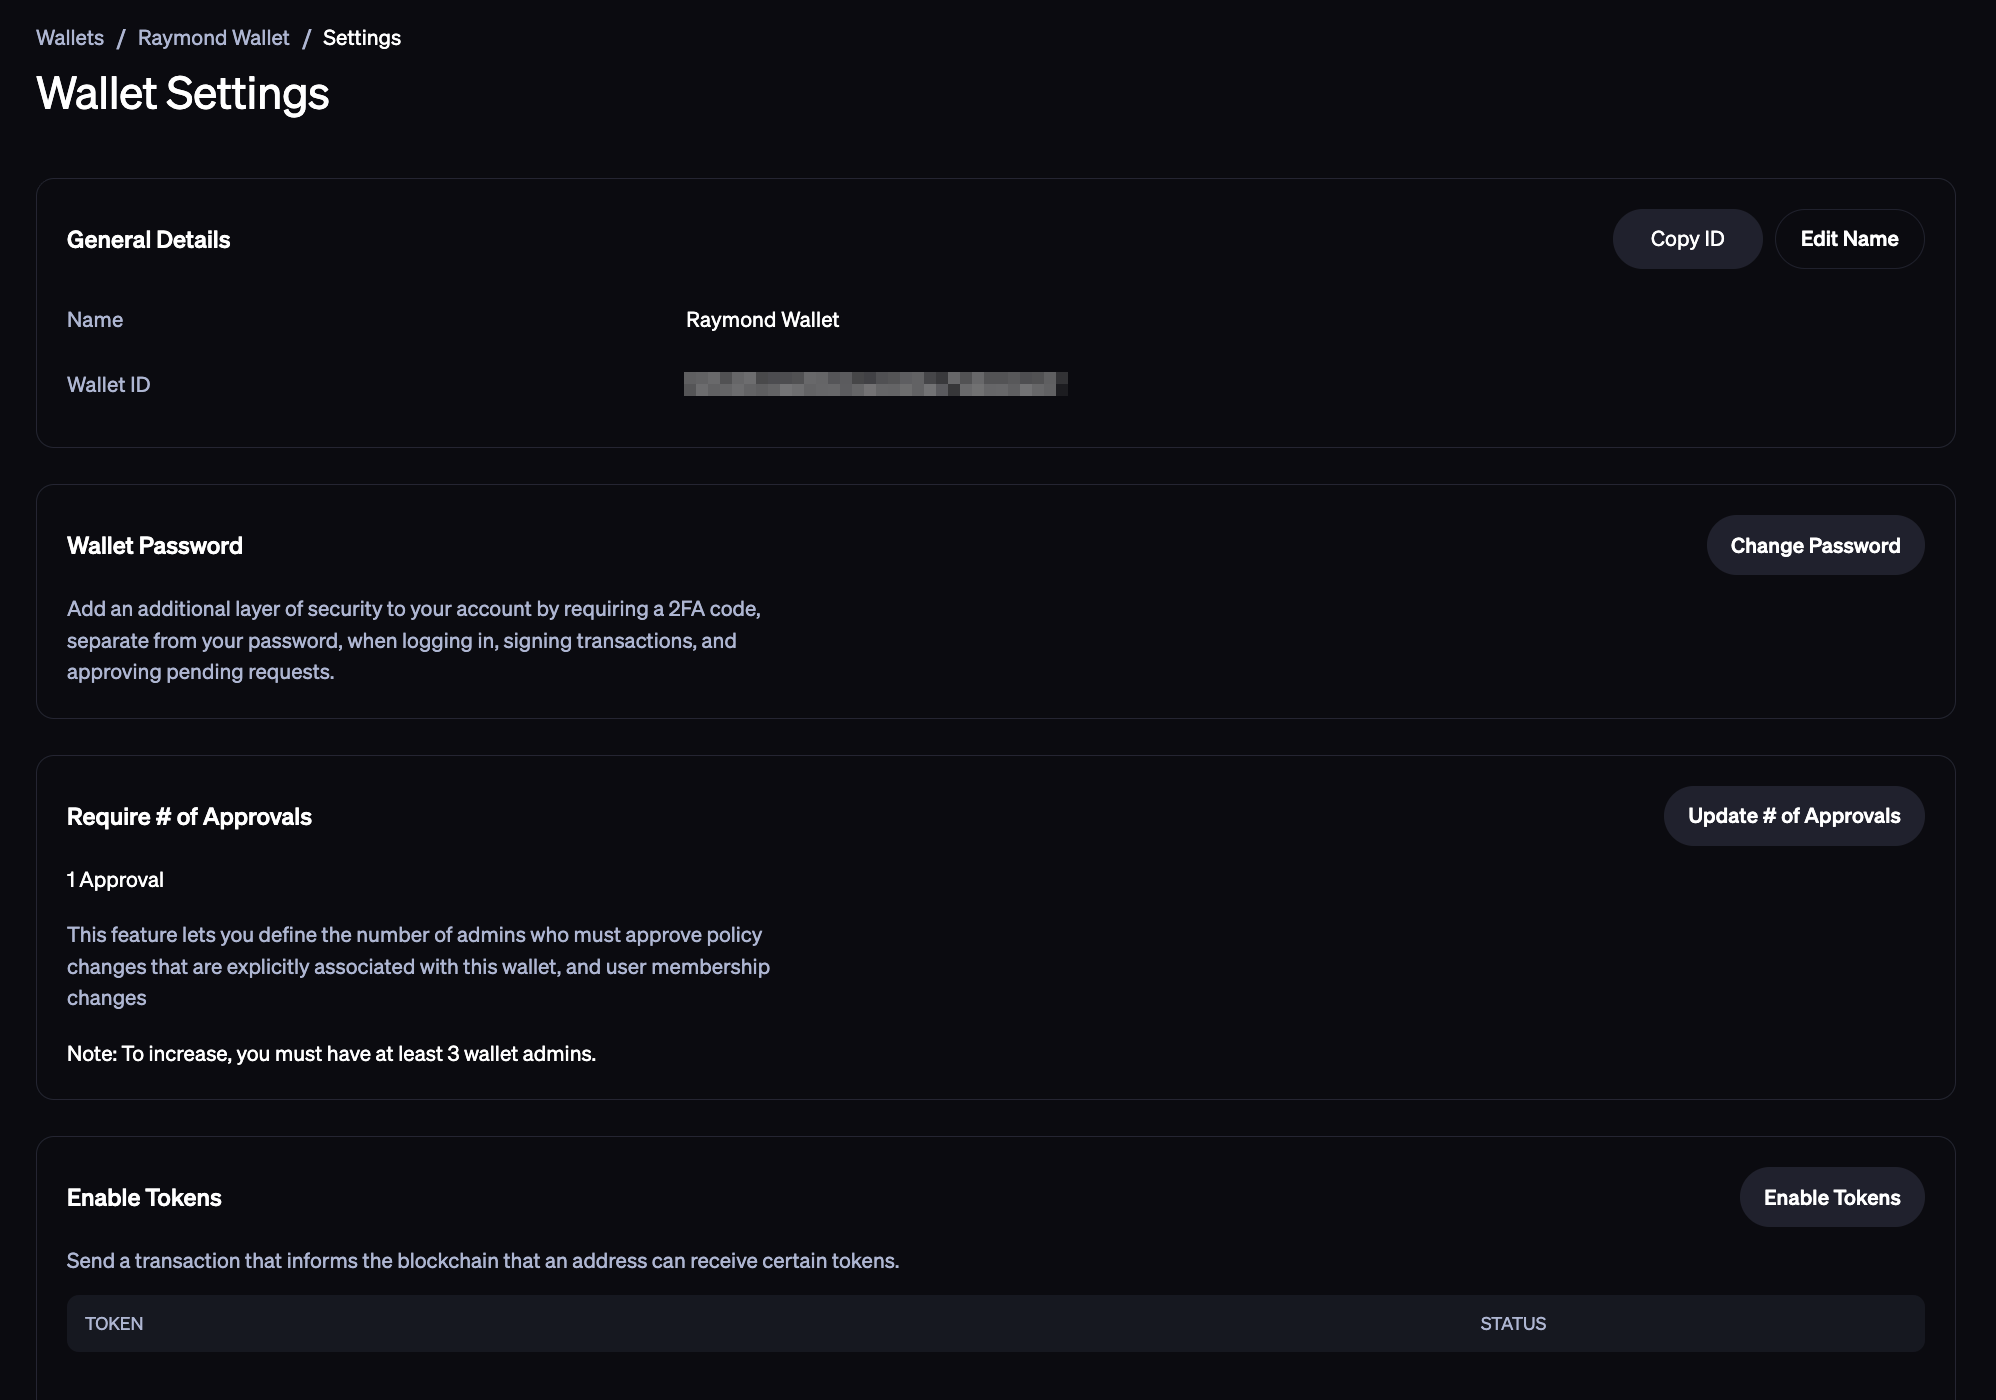
Basic Wallet Settings
Depending on your wallet and asset type, In this Settings tab on the wallet view, you will be able to see a number of different setting options such as:
Change the name of your wallet
Change your Wallet Password
Sign transactions using your fingerprint or facial recognition by adding Passkeys
Set the number of required admins who must approve any wallet settings change or transaction which requires approval. Note that you must have at least three wallet admins to enable this, and the maximum number of admin approvals you can have is one less than the total number of admins on the wallet
Create a default minimum and maximum fee rate which helps you protect your transactions from getting stuck in the mempool during times when there are unexpected network fee spikes
Customize your fee rate with Fee multiplier. The maximum fee rate will still limit the new fee
Add Webhooks to programmatically receive callbacks or notification from BitGo in instances when specific events occur
Freeze your wallet for a specified period of time in the event you suspect your wallet has been compromised
A freeze cannot be undone. You can always extend a freeze if need be, but you cannot end it before its duration runs out.
Archive your wallet when it’s no longer in use—but it must have a 0 balance to be archived
Adding Webhooks for Wallet Notifications
Create webhooks for your application to interact with your BitGo enterprise to programmatically receive callbacks or notifications from BitGo when specific events occur. For example, you can attach webhooks to wallets to receive transaction notifications or to blocks to receive block notifications.
Under the Settings tab of the individual wallet view, you will be able to add webhook notifications for a wallet.
BitGo provides webhooks for the following:
Whenever a transaction is seen or confirmed for a wallet
Whenever a pending approval is created, approved, or rejected for a wallet
You can also create webhooks for the number of block confirmations
Configuring Policies
For a particular wallet, an admin of the wallet may specify certain restrictions to determine if a transaction should proceed without approval. You will need to use the Policy Engine to build and manage these policies that protect your funds.
Learn more about the Policy Engine in the Policy Engine User Guide.
Once you begin setting a policy for a wallet, you have 48 hours to make changes and set up remaining policies if desired. After the 48 hour window, you must contact support@bitgo.com to add or change any policy.
This is for security purposes so that, if the wallet is compromised, an attacker cannot change the policies and remove your restrictions.
Was this article helpful?
That’s Great!
Thank you for your feedback
Sorry! We couldn't be helpful
Thank you for your feedback
Feedback sent
We appreciate your effort and will try to fix the article